
Customer Contacts
This page describes customer contacts and includes the following sections:
You can add contacts to a relevant customer in two different ways; either by clicking  in the 'Add Related 'ribbon or Relations Panel, or by adding a definable Contacts field to the Customers module grid.
Both methods enable adding multiple customer contacts and defining a contact as the 'main' company contact.
Adding the Customer Contacts Field
- Navigate to the Customers module.
- Click
 located right of the closed Navigation Panel.
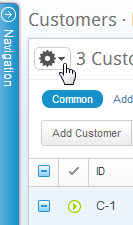
Figure 1: Gear
The settings menu drops down.
- From the menu, under COLUMNS , select Manage.
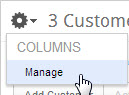
Figure 2: Settings Menu
The Choose Fields multi-find window opens. The Contacts field appears in the right-hand panel.
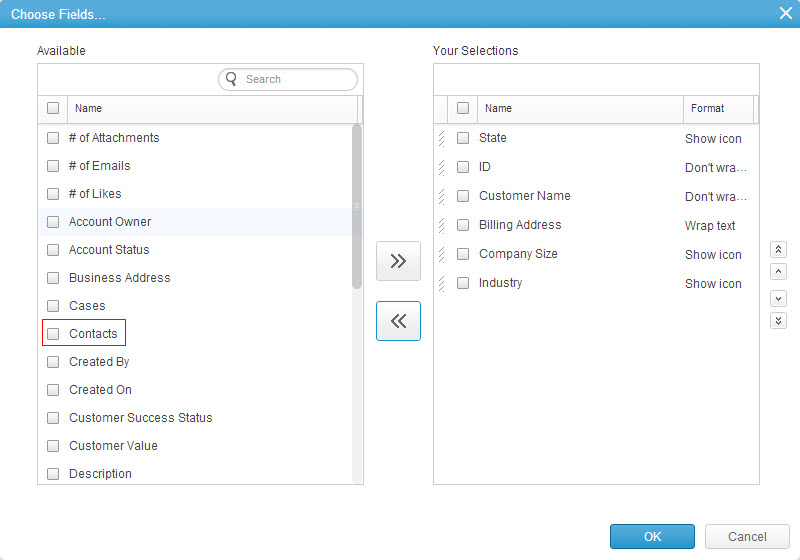
Figure 3: Choose Fields
- Add the field to the view:
- Click
 aligned to 'Contacts'.
 - Click

- Check
 in the Your Selections column and use the
  controls to s ort the vertical list order.
- Click

The field is added to the grid.
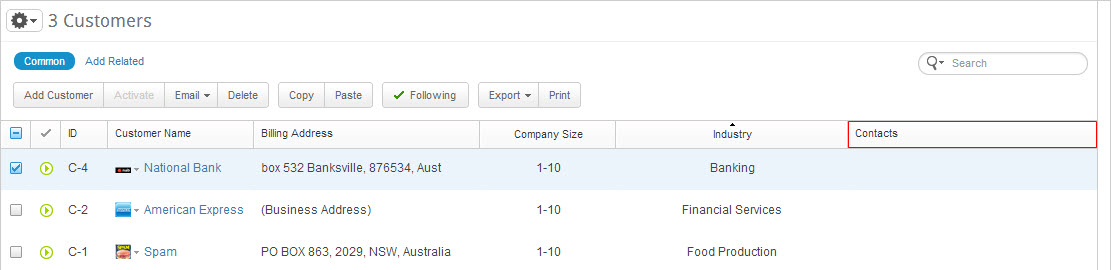
Figure 4: Contacts Field Added
- Navigate to the Customers module.
- Click to activate the Contacts field (or alternatively, select 'Add Related' in the relation panel or ribbon and select 'Contacts').
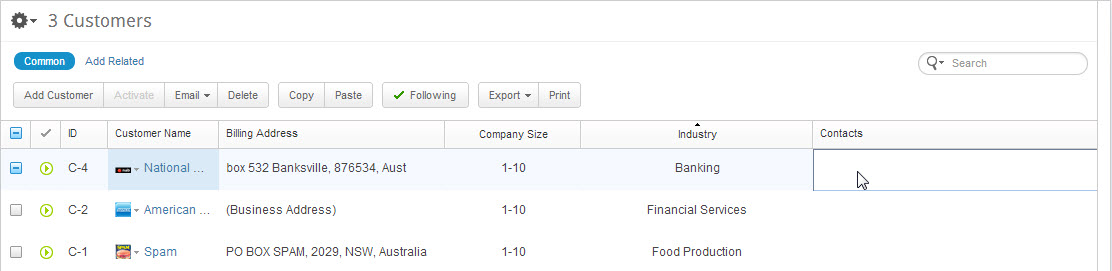
Figure 5: Contacts Field Activated
The field editor opens.

- Click

The Add New Contact Person pop-up opens.
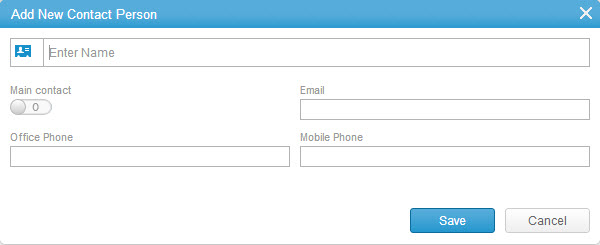
Figure 6: Add New Contact Person
- Enter the contact name.
To upload a custom icon, click the contact icon on the left.

- Click
 in order to define the contact to be the main customer contact.
The switch becomes
- Enter the following data:
- Office Phone
- Mobile Phone
- Click

The customer contact is added.
Comments