
Intended audience - Resource Managers
As Resource Manager, you can manage requests, identify resource bottlenecks, shift and update resources, and assign resources all from the Capacity Planning module.
Note: Only users with the Resource Manager role have access to the Capacity Planning module.

Watch the video
On this page:
- Getting to know the Capacity Planning Workspace - Learn about the Capacity Planning workspace and the tools that will help you make resourcing decisions
- Optimizing Resource Utilization - See how to use the Capacity Planning tools in a typical workflow, step by step.
- Email Notifications - Learn about email notifications and staffing updates
- Discussions - Learn how to create discussions about the Project and staffing requests
Getting to Know the Capacity Planning Workspace
You can access the Capacity Planning module from the main navigation menu.
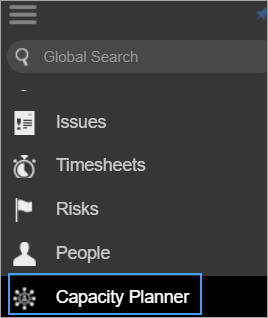
The Capacity Planning module
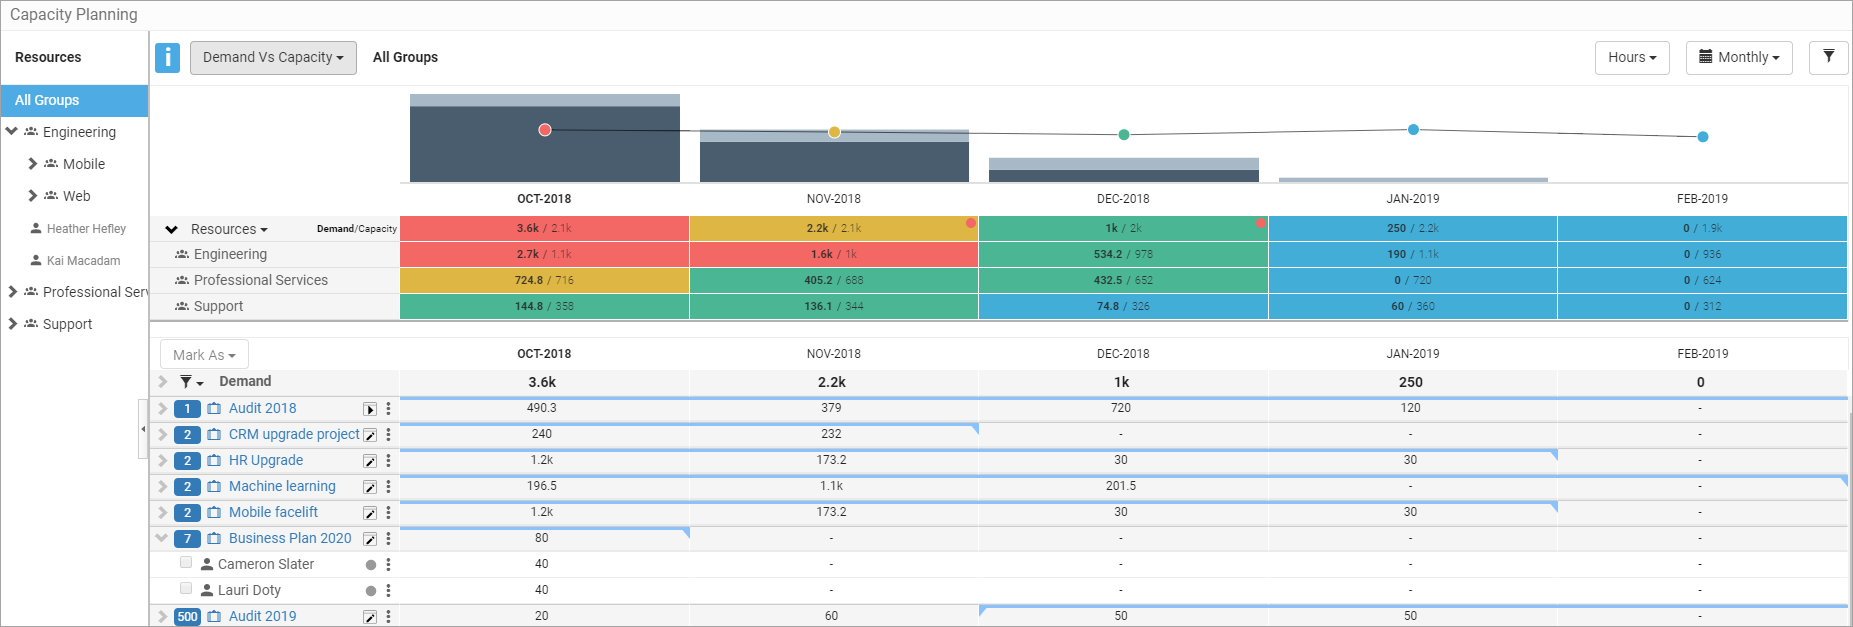
Inside the Capacity Planning module
|
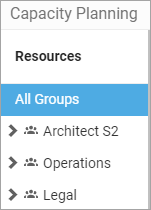
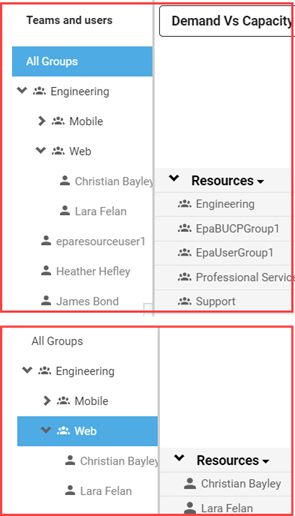
All Groups provides a full picture of the current availability, capacity and requests of all resources. You can expand this panel to filter the picture for a specific group or named resource. |
|
|
|
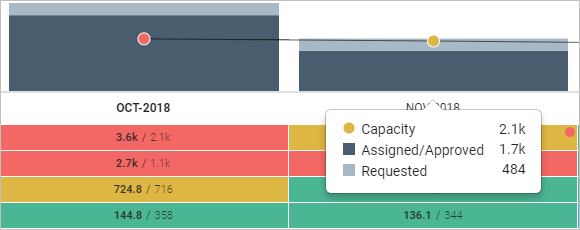
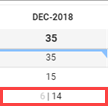
Heatmap and Charts Bar charts display requests and assignments. The line chart displays the capacity of your resources. Below the charts, the heatmap represents resource demand and capacity. The colors in the heatmap represent the load as a percentage of the capacity, beginning with blue for less than 51% load and up to red indicating an overload, or demand exceeding 100% capacity. Requested Demand vs Availability – The charts display requests / remaining availability of the resources. In the heatmap, begin by viewing the totals at the top of the column. The Demand vs Capacity - The charts show open and approved requests, and assigned work / total capacity of the resource. The heatmap view is useful when making changes after resources have been assigned as it displays the current load. After assigning resources, the approved hours are subtracted from the remaining availability, and added to the assigned/approved work in the bar chart. Tip: Focus on users, groups or job titles by clicking the filter icon next to the resource, user or job title. The heatmap highlights the relevant resource row, and the Demand table displays only related Projects and resources.
|
|
Demand Table The Demand Table displays staffing requests on the project. This is where you can approve and update requests, as well as assign named resources. Click on the Project’s name to view resource requests. The project's state is indicated to the right of the project name, for example: Active To sort Projects by priority, make sure the Project's Priority field contains a value. (You can click on the Project name to open the Project details and make changes, including to Priority.) If at least one Project has a value other than 500, the priorities will be listed alongside the Project names. In the table settings, you can select which Project details to display. To see Staffing Request descriptions, you must be displaying at least one additional project info column, and your staffing request must have a description. |
Click on the Project name to see requests. Priorities are listed next to the Project name.
Click the cog icon to add up to 5 columns of additional Project details.
Note: To see the request details, you must be displaying at least one additional project info column, and your staffing request must have a description. |
|
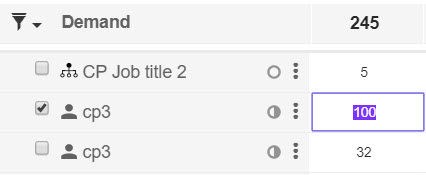
Numbers in gray represent assigned hours now out of scope. For example, if the Project was supposed to run until the end of the month, but now runs until the middle of the month, half the hours will be out of scope. |
|
|
Update requests and view the changes in the heatmap as you do so. Toggle between Requested Demand vs Availability and Demand vs Capacity to see how your changes affect capacity. You can then:
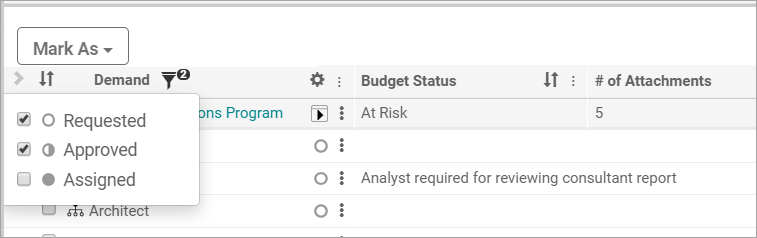
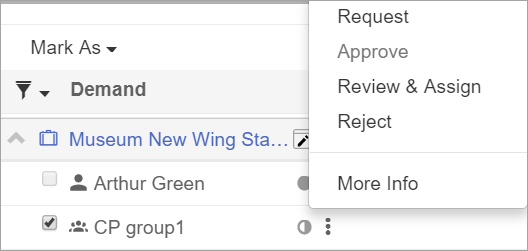
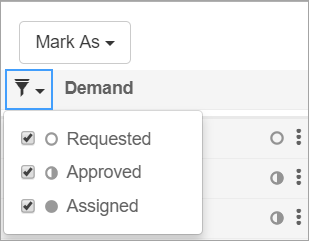
Click More Info to see additional details about the resource. Click the filter icon to view all requests or only open requests, approved requests, or assigned resources. |
Actions and Resource info
Filter options
|
|
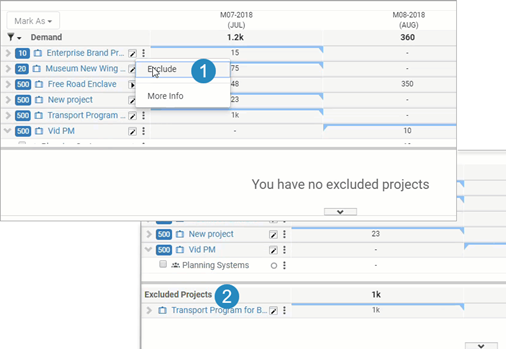
Temporarily exclude a Project to view the effects on staffing and capacity, and easily include the project back into the process. The excluded Project resources will not appear in heatmaps, and Projects will not appear in the Demand table. Staffing requests will not be included in resourcing calculations, and submitting changes will not affect or reject requests in excluded projects. |
|
|
|
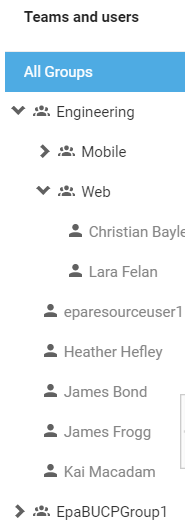
Teams and Users Under All Groups, drill down to specific groups and named resources. The chart, heatmap and requests update accordingly. Note: The user group’s capacity is aggregated from all participating resources in the group and sub-groups. |
|
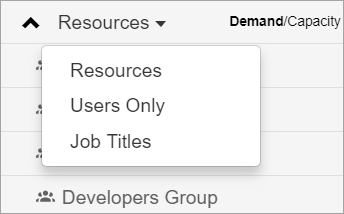
Resources, Users Only, Job Titles View resources by resource type:
Notes:
|
|
|
|
Submit Making changes to requests updates the chart and heatmap on the fly. To submit request updates and resource assignments, click Submit. Your updates will reflect the project’s requests and assignments in the related project views. Revert - Reverts all updates to before the last Submit action. |
|
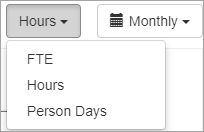
Resource Planning Units Display work in FTE, Hours, or Person Days
|
|
|
|
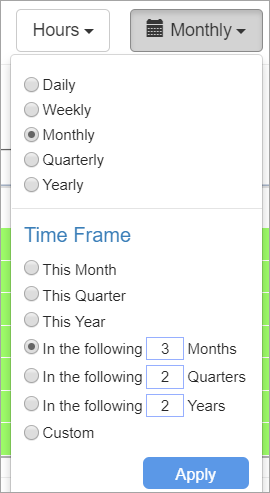
Time Frames Select a time resolution and time frame |
|
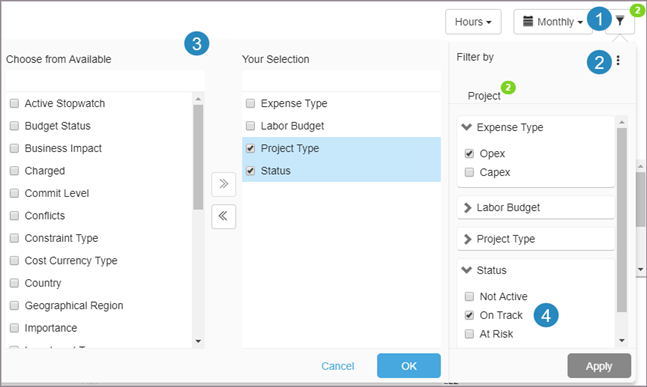
Filters Filter the Project based on categories.
|
|
|
|
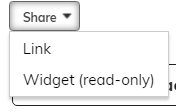
Share the view via a link or read-only widget (useful for users without access to the Capacity Planning module, for example, non-resource managers). |
 icon means the overall demand vs availability status may be ok, however, digging deeper into the Resources/Job Titles/Users below will show that one of the resources is overloaded, or this same resource is overloaded for a smaller time frame (for example, change the view from months to weeks). This means there are bottlenecks or conflicts, and redistributing resources is advised. A red box in the totals represents a general overload on resources for the time period.
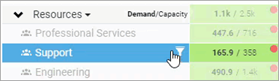


Optimizing Resource Utilization
Let's take a closer look by going through a step-by-step workflow.
- Begin by selecting All Groups to see the current state of your requests for all resources in all projects.
- Select Requested Demand vs Availability. Use the heatmap to review open requests and remaining availability.
- Under Requested/Availability, select Resources, Users or Job Titles. For example, in the Resources view, you may see a partial overload (a shaded box with icon
 ). Moving to the Users Only view will reveal which resource is overloaded (red box).
 - Move to Demand vs Capacity to see the full capacity of resources including already assigned work. This is a good starting point for updating requests, and then approving or rejecting them.
- In the Demand table, open the projects to see how resources are distributed over time.
- Review the heatmap to compare availability for your resources. Under All Groups, you can select teams or resources for an in-depth view of resource availability and capacity.
- Make changes to requested amounts.
- You can now choose to approve resources or go ahead and assign named resources.
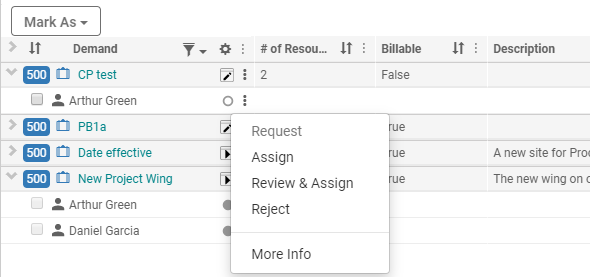
- To approve a request, select the 3 dots and then Approve. To select multiple resources, select the checkboxes next to the resources and click Mark as > Approved. Resources are reserved and their hours are subtracted from their availability.
- To assign named resources, select Assign.
- To review available resources and assign additional resources, select Review and Assign.
- To approve a request, select the 3 dots and then Approve. To select multiple resources, select the checkboxes next to the resources and click Mark as > Approved. Resources are reserved and their hours are subtracted from their availability.
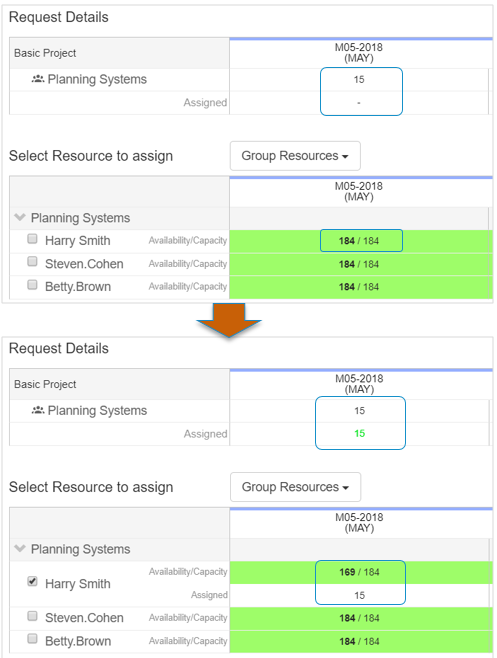
- In the Assign Resource window,review the requests and select the resources to assign. Their available hours will be assigned to the project.
- If your resources are fully booked and / or you want to use resources from other groups, click the Filter icon to see resources in the Group or Sub-group to view additional resources.
You can also filter by skills to quickly see which relevant resources are available, and assign them to the Project(s).
Note: Skills must be included in the staffing requests for them to appear in the Assign Resources window. By default, the Assign Resources window already filters resources by required skills. To filter resources by additional skills, or to remove the filter, click the filter icon, and expand Skills.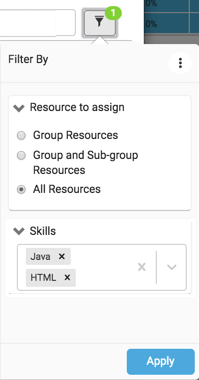
- Update the assignment numbers if necessary. Select all resources and click Add and Apply to Project.
- Repeat the above process as more requests are added.
- Click Submit. This will allocate the resources to the project(s) and remove the requests from the Requested Demand vs Availability view.
The Project assignments can be seen by the Project Manager in the Project Assignment panel of the Project view. See Project and Task Assignment. - Move again to Demand vs Capacity to view resource utilization including assignments and open requests. Continue to optimize the plan as needed.
Email Notifications
Resource Managers are notified daily about requests awaiting approvals and requests awaiting assignments.
You can enable/disable daily notifications on the system level or for individual users in user settings.
Discussions
Discuss requests with your Project Manager using the Clarizen Discussions feature. You can add a discussion on the Project or staffing request levels.
For requests, the discussion will be available on the request in the Staffing Request panel in the Project view. For the Project, it will be available in the regular Discussions panel in the Project view.
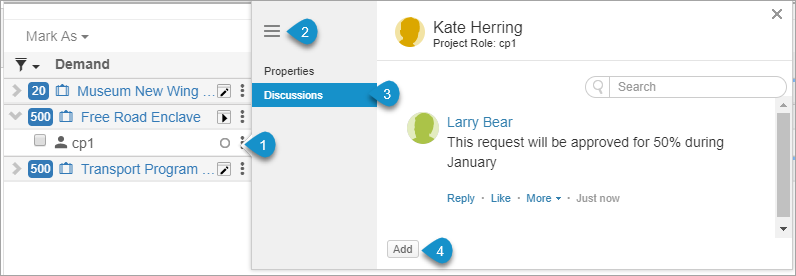
To add a discussion on the Project/request:
- Click on the 3 dots next to the Project or request, and More Info.
- Click the Hamburger menu.
- Select Discussions.
- Click Add to create a new discussion.
Comments