
This section provides an overview of the Modules main view and available actions.
Report Module Overview
The Reports & Dashboards module's main view consists of the available reports and dashboards divided into folders listed in the left panel.
Folders
Folders can be used to divide or group all the reports and dashboards created in the system.
The available folders are:
- Out of the box folders (Budget, Cases, Customer, etc.)
- Folders created by the user
- Special folders:
- All reports – displays a list of all the reports & dashboards that you have permissions to view
- My reports – each user in the organization has their own My reports folder, which acts as a private folder only for the current user which can be used to save personal reports and dashboards
- Unfiled – a public folder available to everyone in the organization
Creating and Managing Folders
Arrange your reports and dashboards by dragging and dropping the reports and dashboards from the viewing list to the folder you wish to place it in.
To create a folder:
- Click the + icon located under the list of folders .
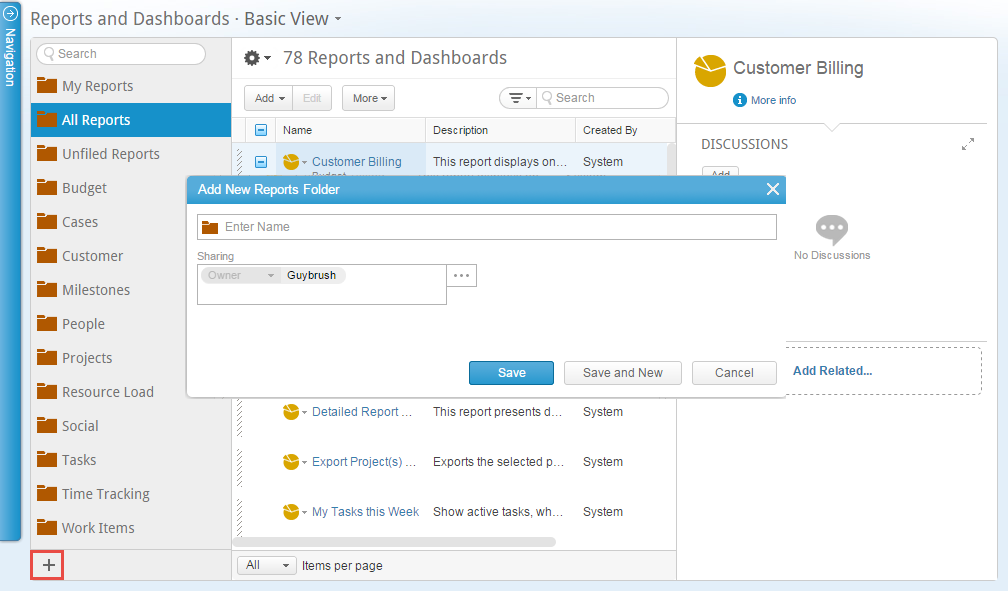
- Give the folder a name.
- Define the owner of the folder (by default that would be you).
- Add users, groups, profiles etc. that you wish to share the folder with, and define the sharing rights for each of the added entities.
- Click Save to save and close the window, or Save and New to save the folder and create an additional folder.
Search and Filter
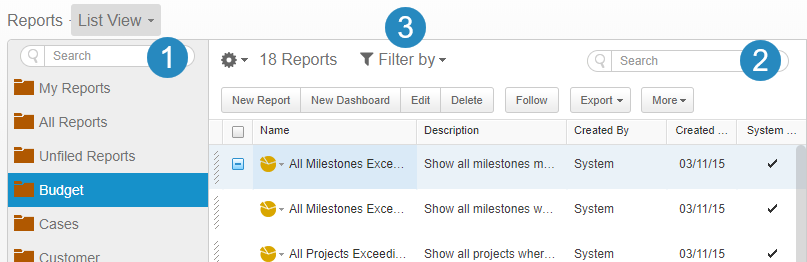
1. Search for report folders.
2. Search for reports in the current folder.
3. Filter the list of reports.
Once you found the report (or dashboard) you are interested in, hover over the report name and click on the arrow to run it.
Related Panels - Discussions and Email
The Reports & Dashboards include the following out of the box relations, which appear on the right:
- Discussions - Allows you to collaborate with all team members around reports/dashboards and their results using social.
Note: If the user does not have permission on the report, the user will receive discussion notifications but will not be able to access the results themselves. - Email - In the Email panel. Click Compose to send a link to the report. Emails can be reviewed and replied to from within the panel.
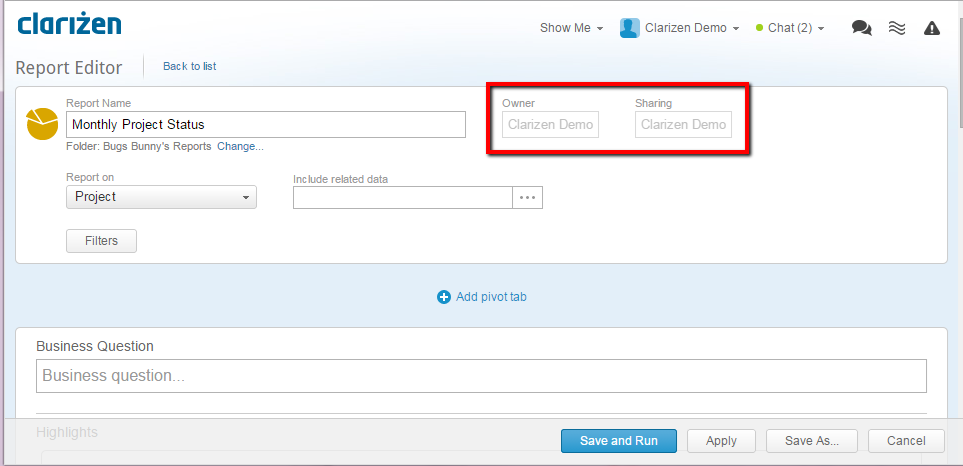
Sharing and Permissions
Each of the reports and folders have sharing permissions. The folder's sharing permissions are inherited based on the reports/dashboards within. The folder permissions can also be defined in the Folder's property popup screen.
Sharing permissions can be defined for Users, User groups, special groups, and profiles on several levels:
- Owner – Usually the person who created the Folder or report/dashboard, can add/remove/edit reports and dashboards and the folder itself
- Editor – Can add/remove/edit reports and dashboards and the folder itself
- Contributor – Can add/remove reports and dashboards
- Viewer – Can run relevant reports and dashboards
A system setting is also available if you want to restrict viewing and sharing on the organization level. Click here to learn more.
Reports can be shared easily with licensed and unlicensed users as links or widgets. Links can be shared only with licensed users because Clarizen permissions are necessary to view information.
A Widget can be shared with licensed and unlicensed users without Clarizen permissions.
Sharing as Links
- Select one or more report(s)
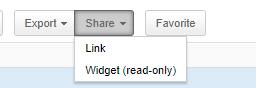
- Click on Share > Link in the ribbon.
- Select Link to send the report(s) link in an email to licensed users who have access to the specific reports.
Sharing as Widgets
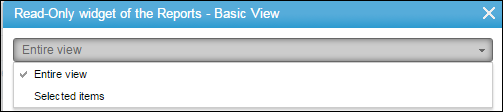
- Select Share > Widget to send report widget links in an email to licensed or unlicensed users.
- Select a view of the report(s): Entire view or Selected items.
- ClickOptions to customize the widget.
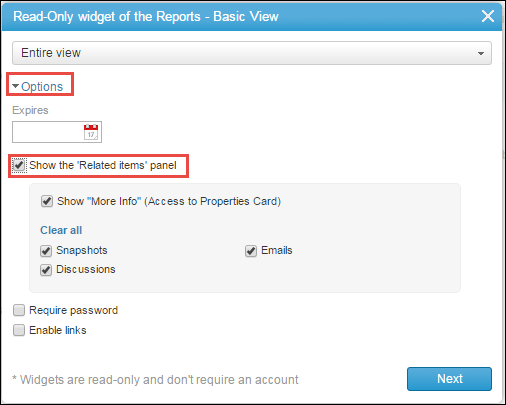
- In Expires you can define an expiration date for the widget
- Define whether to Show the Related items panel. Deselect items: Show More Info, Snapshots, Discussions, and Emails as needed.
- Define whether to Require a password.
- Define whether to Enable links.
- Click Next to send the widget
- You can send the widget with iframe tags so it can be embedded in a web page.
See also Related Panels - Discussions and Email.
Out-of-the-Box Reports and Dashboards
Several reports and dashboards are available covering some common use cases to help you get started.
These reports and dashboards can also be used as a basis to create your own customized reports and dashboards.
- Administrators can view all out-of-the-box Reports and set sharing permissions on each report per profile or user or on the Projects folder as described in Creating a Basic Report.
- Each of the Reports can be edited easily to suit your business needs.
- Each of the Dashboards can be edited as described in Creating a New Dashboard.
For a complete list of reports see 13.5 Standard Reports List
Comments