
Personalizing My Details
This page describes personalizing 'My Profile' and includes the following sections:
- Changing My Profile
- Accessing My Details
- Personalizing Name and Icon (photo, image, avatar)
- Setting Email Address
- Setting Phone Numbers
- Setting User Settings
- Setting Personal Details
Changing My Profile
The administrator can associate a user to several profiles, either directly or by group association.
Users not associated to any profile, are automatically associated to the organizational default profile, they will not be able to switch the profile used as they are not associated with any profile.
An admin user has profiles access to all of the organizations available profiles and can always switch between any one of them.
Selecting your profile from your user menu
Users assigned to multiple profiles will see a list of available profiles under the “my profile” section in the user menu located on the masthead.
The profiles available under the “my profile” section are either profiles you were associated with directly or profiles assigned to a group that you are a member of.
Users assigned to only one profile will see the associated profile as well as the organizational default profile.
To switch between profiles:
- Open the user menu located on the Masthead
- A list of available profiles will be shown under the Profiles section

- Select the Profile you wish to use.
Selecting a profile from the user details screen
You can also switch between profiles in the “my details” screen.
To Select a profile from the user details screen:
- Open the User detail screen
- Click the Profile field, if the field is not visible, use the properties text box to search for it
- Click the
 adjacent to the profile name
The Select Profile window opens
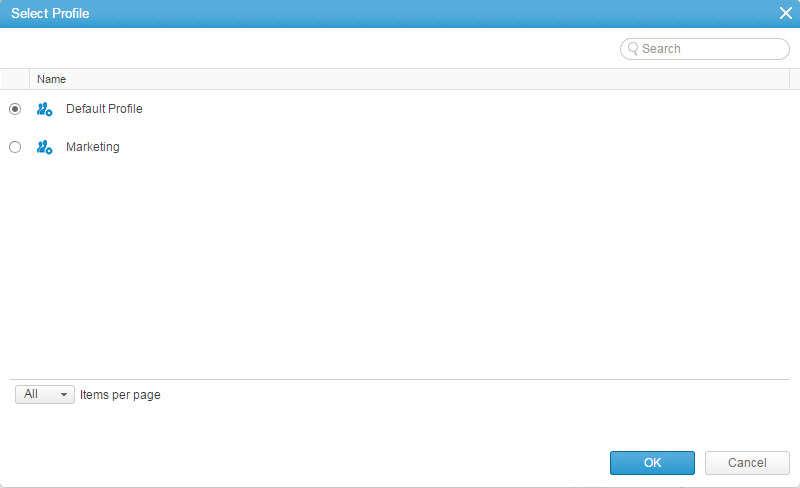
- Select the profile from the list of available profiles, and click

Note:
Administrators can set the active profile for other users from the user detail screen or a user’s property card
Accessing My Details
- On the masthead, click to open the User Data menu.
The User Data menu drops down.

- Click My Profile .
Your Clarizen profile opens in Item Detail view.
Note:
You can also click your name directly from the homepage.
Personalizing Name and Icon (photo, image, avatar)
- Access My Profile.
- Click the Name field.
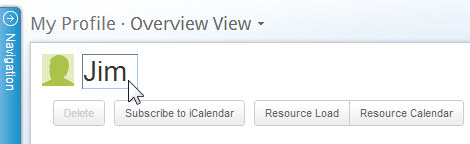
The Icon and Name fields become active.

- Select and/or edit the text as necessary.
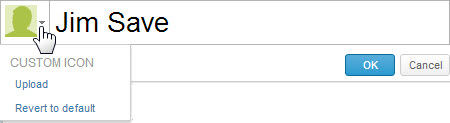
- Click the Icon
Note:
The Custom Icon can also be changed directly from the Homepage
- Click

- Browse to the image file required, and load it.
- Click

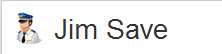
The data is sent to the server. The new icon or image and edited name appear in the respective fields.
The option Revert to default is added to the Image field drop-down menu.Note:
To revert to the default image, click the Logo field's
 and select
Setting Email Address
- Access My Profile .
- Click the Email field.
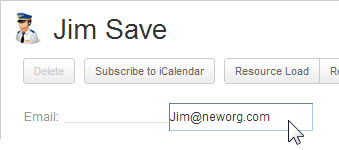
The field becomes active. - Select and/or edit the address as necessary.
The email address is set. The data is sent to the server. The information is added to your Profile Properties Card.
Setting Phone Numbers
- Access My Profile .
- Click the required phone field (Office or Mobile).

The field becomes active. - Enter the number
The data is sent to the server. The information is added to your Profile.
Setting User Settings
Setting the User Settings is achieved by performing similar steps for all editable fields, including:
- Allow Emails — Defines emails to be generated or not upon specific actions
- Language — Defines the language
- Project Notifications — Notifies of new posts on projects
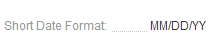
- Short Date Format — Defines the 'short date' format
- New Item Policy — Defines whether work is assigned "directly" or by "all"
- Email Notifications — Defines whether email notification occurs on every post or not at all
- Time Zone — Defines the local time zone
- Landing page — Defines the default landing page when logging in to Clarizen
- Grid Line Height — Defines the default grid line item height
- Notify Me — Defines the frequency in which a user will receive notifications for all newsfeed updates on any entity other than group (e.g. projects, cases), and defines the default setting for every new group a user is added to
Note:
- Fields that are not editable show
 when hovering over them with the mouse pointer.
 - Directly - Items directly assigned to you so that you have a specific role, such as case team member, work item reviewer, resource or manager.
- All - items assigned to you indirectly, for example: work items, in which you are set as a Project manager or reviewer (even though you are not a reviewer of the item itself) and/or items assigned to your direct reports.
Allow Emails
- Access My Profile .
- Click

The My Profile Properties Card expands fully. - Click the Allow Email field.

The Allow Emails control opens set at Yes (DEFAULT).

- Click
 to disable (or
  to enable).
The data is sent to the server. Emails will not be generated.
Language
The default language set for Clarizen in your organization is defined at the organizational level by your organization's Admin user.
However Clarizen enables you to set the language at the user level to conveniently suit your specific needs.
- Access My Profile .
- Click

The My Profile Properties Card expands fully. - Click the Language field.
A selection dialog containing the available languages opens.
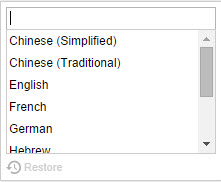
- Select a language for your default language
The data is sent to the server. The information is added to your Profile Properties Card.
Project Notifications
- Access My Profile .
- Click

The My Profile Properties Card expands fully. - Click the Project Notification field.

The Project Notification control opens set at Yes (DEFAULT).

- Click
 to disable (or
  to enable).
The data is sent to the server. Project notifications are not generated.

Short Date Format
The default Short Date Format set for Clarizen in your organization is defined at the organizational level by your organization's Admin user.
However Clarizen enables you to set the format at the user level to conveniently suit your specific needs.
- Access My Profile .
- Click

The My Profile Properties Card expands fully. - Click the Short Date Format field.

The Short Date Format dialog box opens showing the current format.
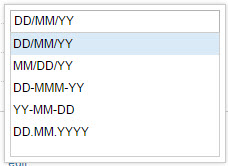
- Select the required format
The data is sent to the server. The format is defined.
New Item Policy
The default new Item Policy set for Clarizen in your organization is defined at the organizational level by your organization's Admin user. However Clarizen enables every user to set the New Item Policy at the user level to conveniently suit your specific needs.
- Access My Profile .
- Click

The My Profile Properties Card expands fully. - Click the New Item Policy field.
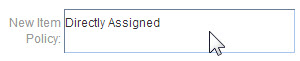
A selection dialog containing the New Item Policies options opens.

- Select the option for your default New Item Policy
The data is sent to the server. Your default New Item Policy is set.
Email Notifications
- Access My Profile .
- Click

The My Profile Properties Card expands fully. - Click the Email Notifications field.

A selection dialog containing the Email Notification options opens. - Select the required option
The data is sent to the server. Your default Email Notification option is set.
Time Zone
The default time zone set for Clarizen in your organization is defined at the organizational level by your organization's Admin user. However Clarizen enables every user to set the time zone at the user level to conveniently suit specific needs.
- Access My Profile .
- Click

The My Profile Properties Card expands fully. - Click the Time Zone field.
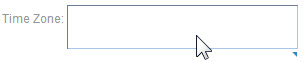
A selection dialog containing the available time zones opens.
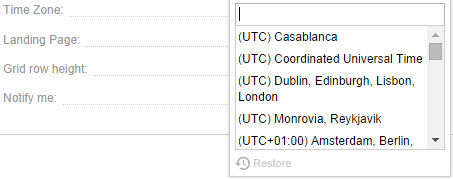
- Select the region for your default time zone
The data is sent to the server. The information is added to your Profile Properties Card.
Landing Page
The default 'landing page' (Homepage) for Clarizen in your organization is defined at the organizational level by your organization's Admin user.
However Clarizen enables every user to personalize their landing page at the user level to conveniently suit the specific purposes of each user.
- Access My Profile .
- Click

The My Profile Properties Card expands fully. - Click the Landing page field.

A selection dialog containing the available modules opens.
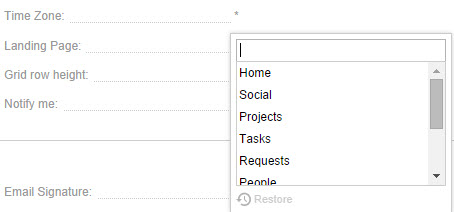
- Select the module for your default Landing page
The data is sent to the server. Your default Landing page is personalized. The information is added to your Profile Properties Card.
Grid Line Item Height
This setting defines whether grid line item heights will be comfortable (the default) or compact.
Note:
Comfortable — more padding between each row for a cleaner more readable grid.
- Access My Profile .
- Click

The My Profile Properties Card expands fully. - Click the Grid Line Item Height field.
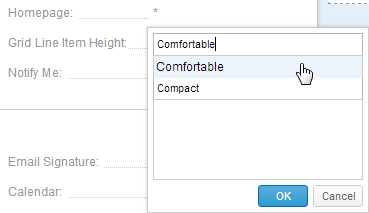
- Select the height for your default line item and click

The data is sent to the server. Your default line item height is personalized. The information is added to your Profile Properties Card.
Tip:
Your Admin user can also set default Grid item line height in the System Settings .
Notify Me
This setting defines the frequency notification emails are sent for newsfeed updates on any entity other than groups (e.g. projects, cases), and defines the default setting for every new group a user is added to.
- Access My Profile .
- Click

The My Profile Properties Card expands fully. - Click the Notify Me field.

Select the definition for your default notification frequency and click
The data is sent to the server. Your default notification conditions are personalized. The information is added to your Profile Properties Card.
Setting Personal Details
Setting the Personal Details is achieved by performing similar steps for all editable fields, including:
Change Password
- Access My Profile .
- Click

The My Profile Properties Card expands fully. - Click the Password 'edit...' link.
The Change Password dialog opens. - Enter the required data into the four fields.
Note: A password must be at least 8 characters long and must contain both alpha and numeric values.
- Click

The data is sent to the server.
Integration Settings
- Access My Profile .
- Click

The My Profile Properties Card expands fully. - Click the Integration Settings 'edit...' link.
The Integration Settings dialog opens.
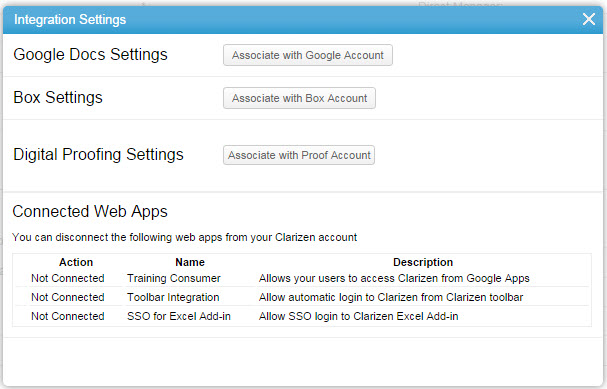
- Click the required integration button:
-
 — Directs you to Google Docs Settings
  — Directs you to Box Settings
 - Or any other link associated with additional web apps connected to your account.
-
Email Signature
- Access My Profile .
- Click

The My Profile Properties Card expands fully. - Click the Email Signature 'edit...' link.
The Email Signature dialog opens.
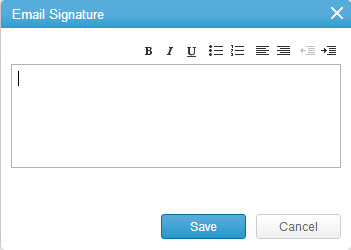
- Enter and format your email signature.
- Click

The data is sent to the server.
First Name
- Access My Profile .
- Click

The My Profile Properties Card expands fully. - Click the First Name field.

The field becomes active.
- Enter or edit your first name.
- Click

The data is sent to the server. The information is added to your Profile Properties Card.
Last Name
Follow the steps in the above procedure to enter or edit the Last Name field.
Calendar
- Access My Profile .
- Click

The My Profile Properties Card expands fully. - Click the Calendar 'edit...' link.
The Calendar opens. - Click
 and define the following date parameters:
- Fiscal Year
- Default hours in a day, days in a month
- Work week 'Starts on' day
- Working days and working times, break
- Click

- Click
 and define the Add Exception fields.
 - Click

- Click
 to close the calendar.
The data is sent to the server.
Comments